APFS Compression on my MacBook
In this post, I will take a look at how transparent file compression can be enabled on Apple machines using APFS, how effective it is and how we can get information about the actual size of a file on disk from the kernel.
I’ve tried a lot of different operating systems and hardware manufacturers, but like a lot of people in computer science, I eventually got stuck with Apple’s MacBook Pro. It’s well-known that Apple knows how much customers love their hardware, and so they charge a lot of some things, such as SSD size. I don’t always go for the biggest possible options, because as a student I can’t always afford to. As a result of this, I sometimes run into issues with not having enough disk space on my system.
What I do in that case is go through my files and offload things I don’t
actually need to an external drive. However, looking at the output of
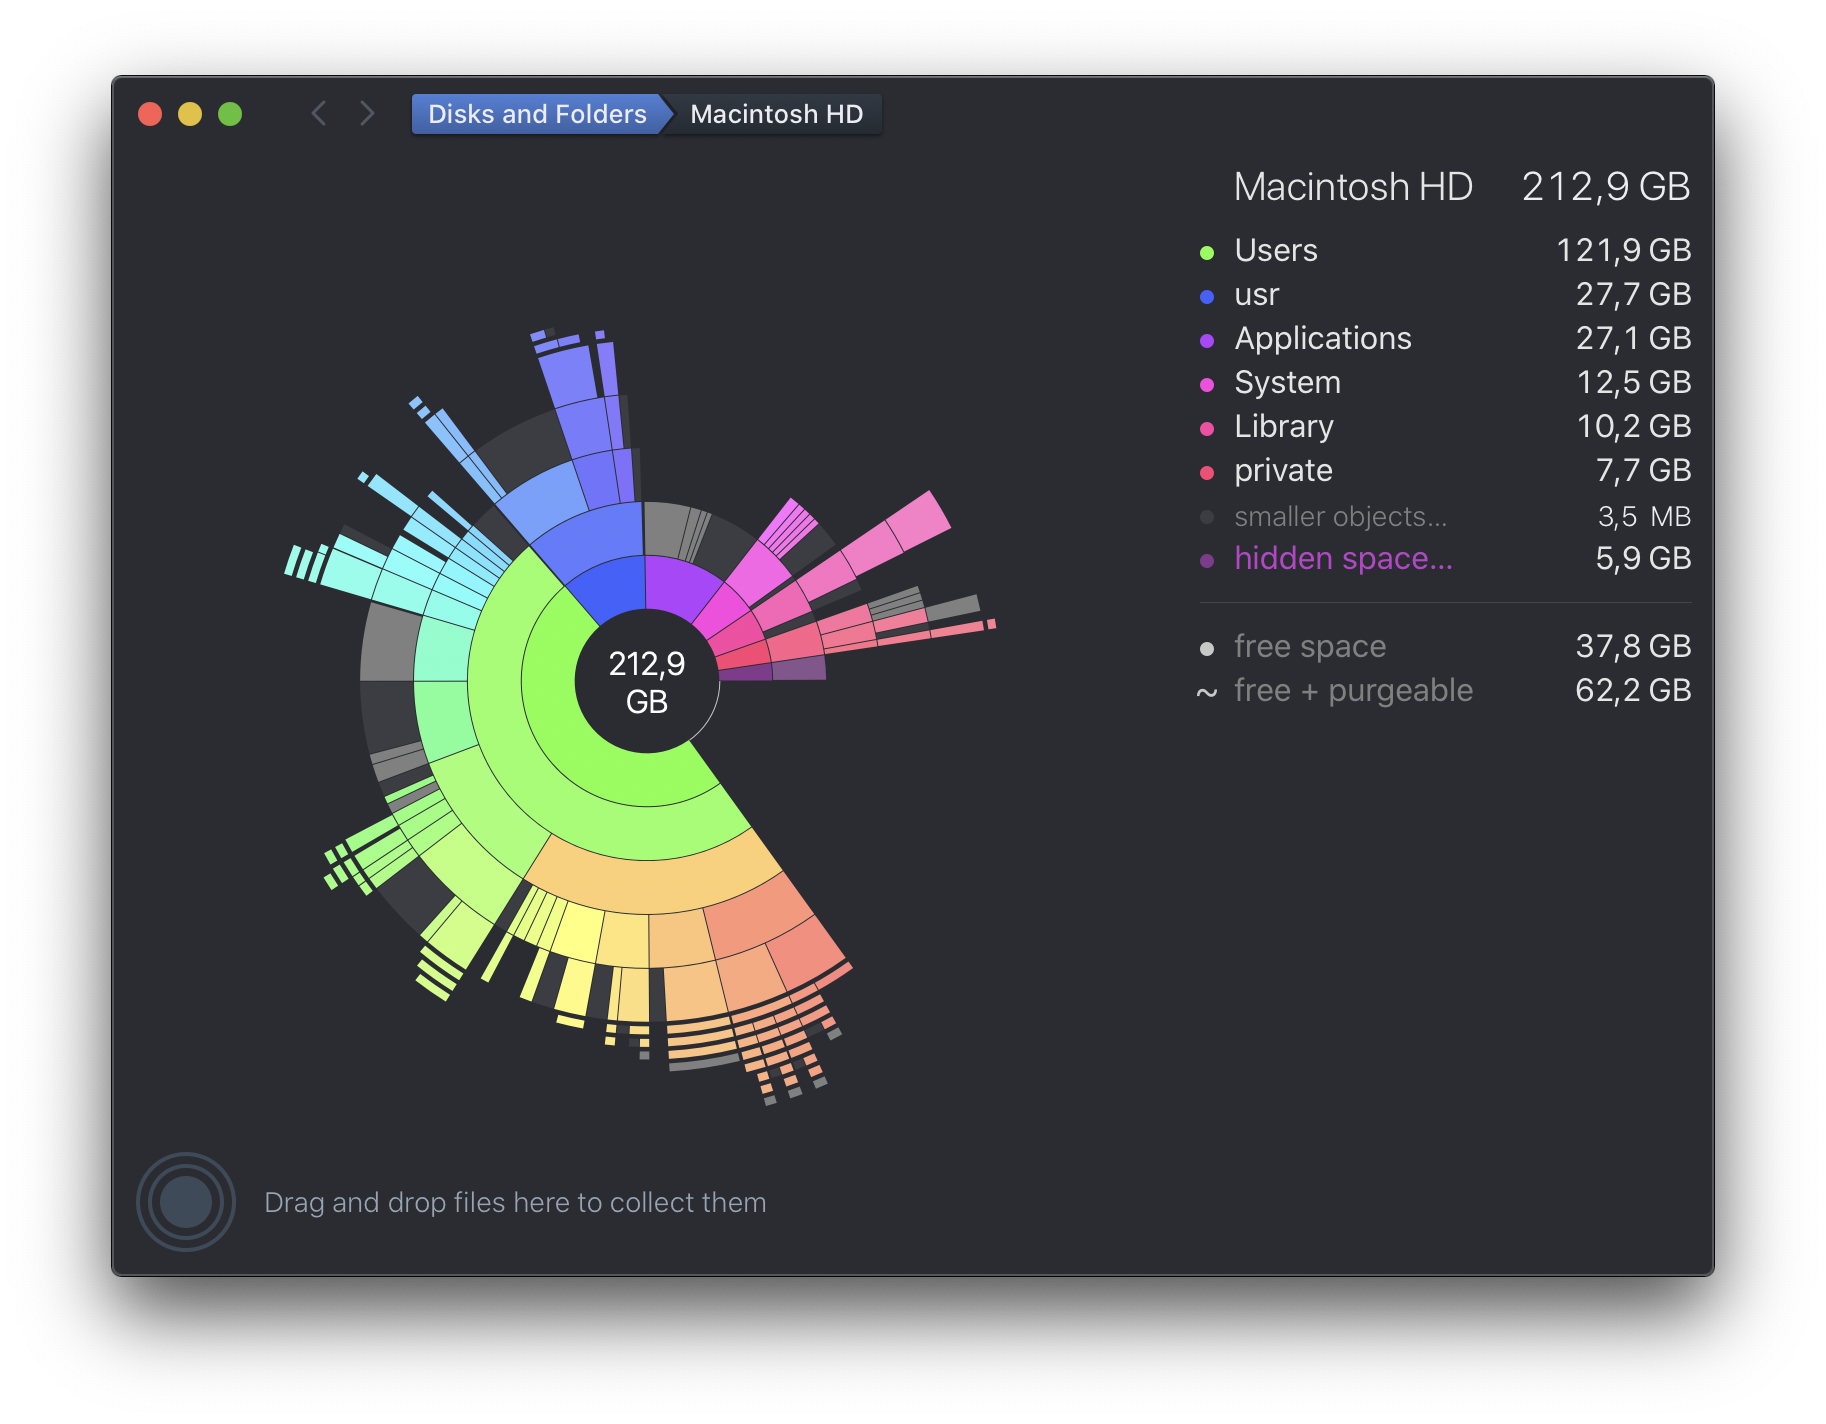
Daisy Disk, which is similar to GNOME’s
Disk Usage Analyzer,
but prettier and commercial, shows that there’s a few gigabytes of stuff
in my /usr/local/ folder.
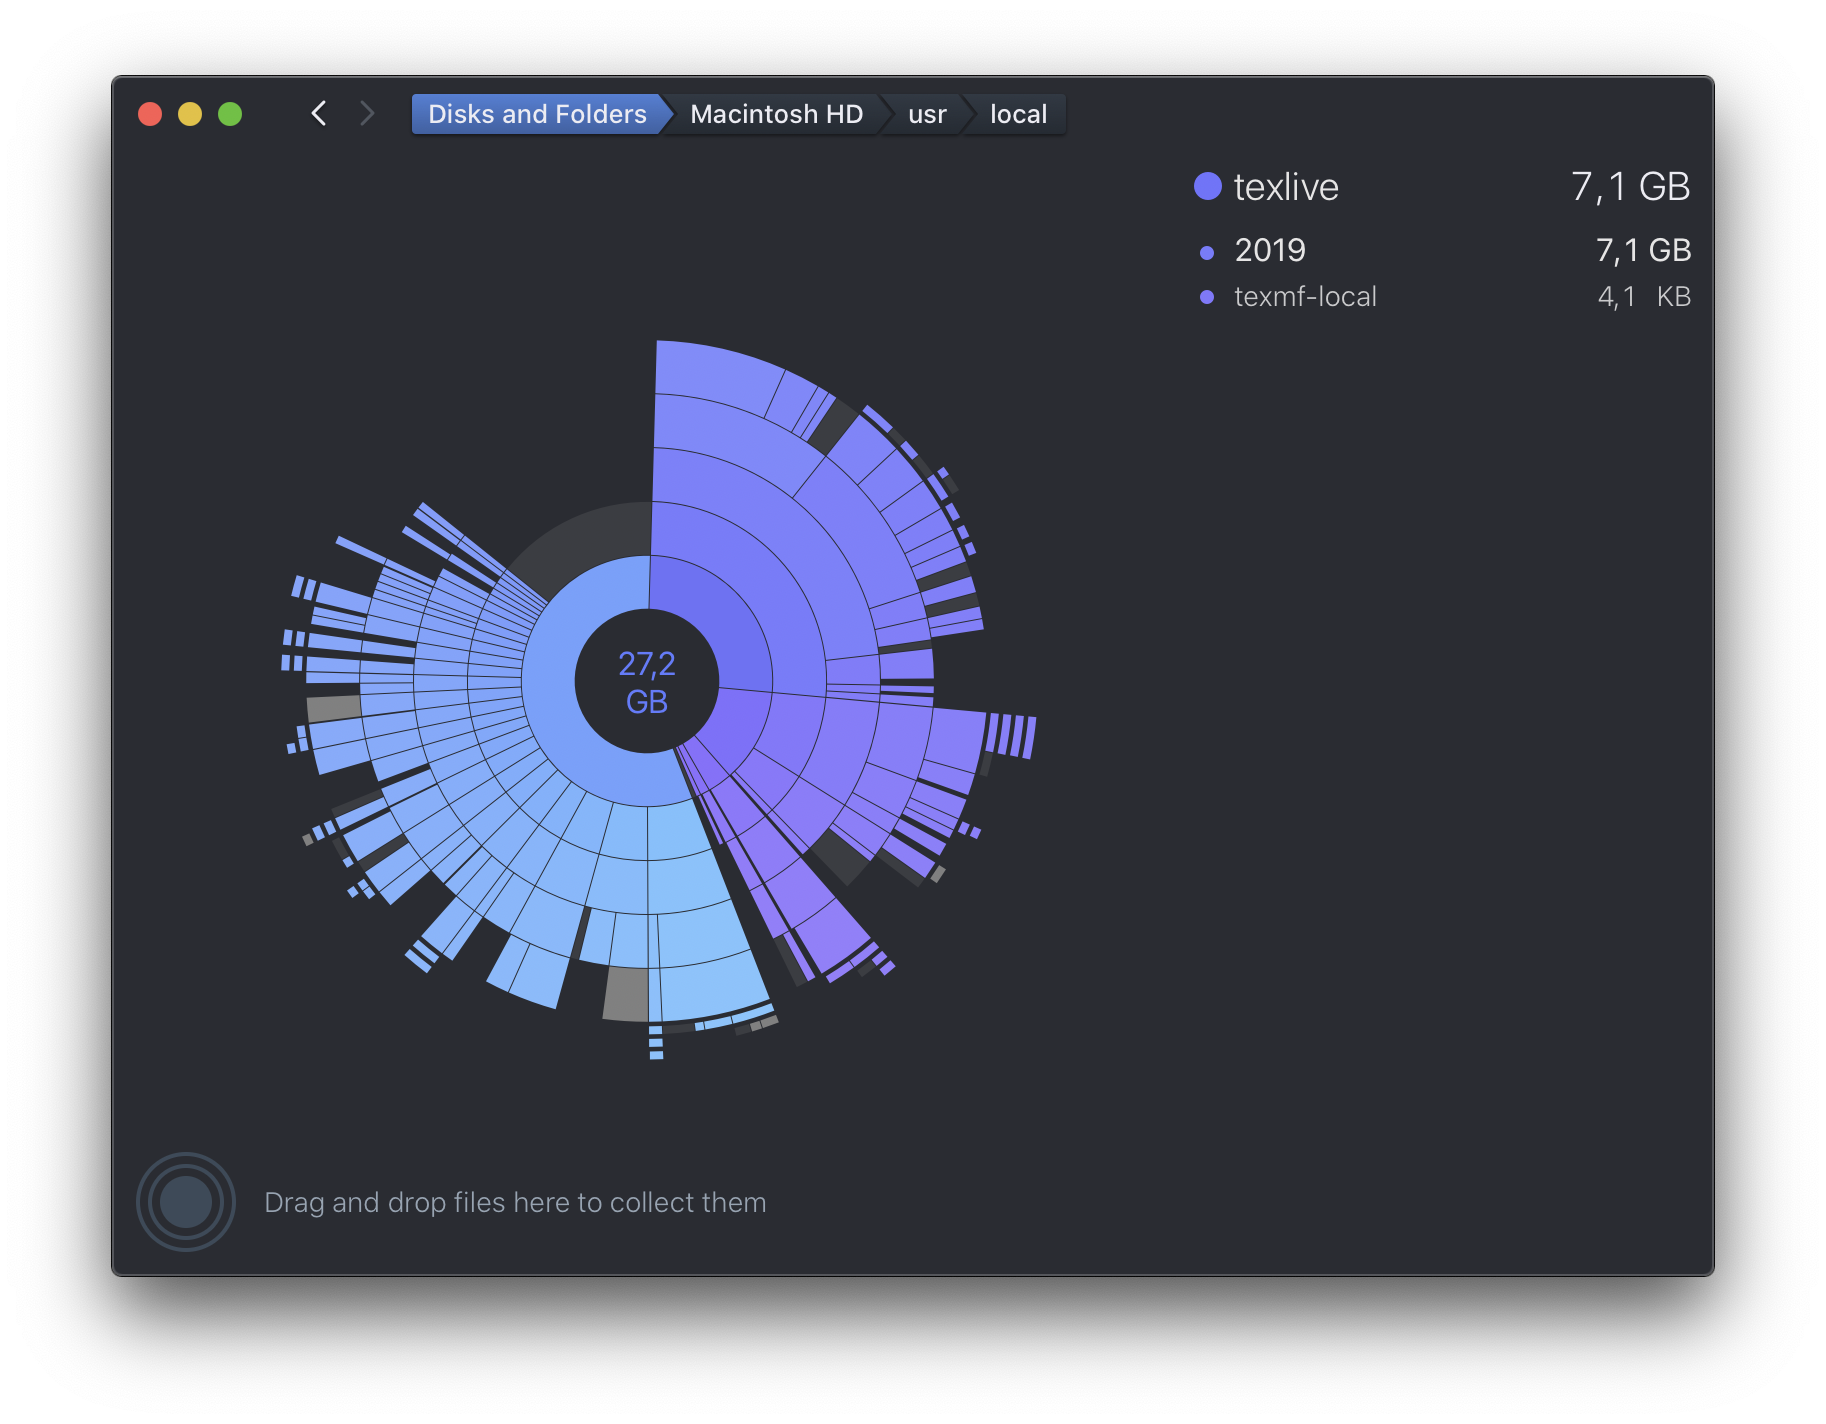
That is where macOS’s package manager Homebrew installs things to, and also where my TeX Live installation sits. I figure that these are both things that don’t change too often and are therefore prime candidates for compression.
Apple’s filesystems – HFS+, and APFS, which has recently replaced the former on SSD media – both support transparent compression, meaning that the filesystem itself handles the compression, and applications don’t (shouldn’t) notice the difference.
There is a tool that we can use to play with it, and try the compression.
$ git clone https://github.com/RJVB/afsctool
$ cd afsctool
$ brew install google-sparsehash zlib cmake pkgconfig
$ PKG_CONFIG_PATH=/usr/local/opt/zlib/lib/pkgconfig
$ mkdir build
$ cd build
$ cmake ..
$ make
I ran into some issues building this and I had to run this command (taken from here):
sudo xcode-select -s /Library/Developer/CommandLineTools
and then recreate the build folder and re-run cmake in it to make it work,
I don’t exactly understand why that is, but it worked. The result of that is
an afsctool binary, which can be used to play with compression.
First, I figured I’d see how many files in my /usr/local/ are already
compressed. Who knows, maybe someone already had this idea. The tool accepts
a -l switch, which lists files (in a given folder) which are already
compressed.
$ ./afsctool -l /usr/local/
However, it didn’t return anything, suggesting that I don’t have anything that is compressed in there at the moment. That’s a good thing, it means that I can try enabling it to see what it does.
First, I decided to try and see what would happen if I compress the repository
of afsctool using it.
$ du -hd 0
4.4M    .
$ ./build/afsctool -c .
/Users/pelsen/Projects/Playground/afsctool/.:
Number of HFS+/APFS compressed files: 127
$ du -hd 0
1.6M    .
So, this already brings an improvement of more than 50% on this repository.
Querying Compressed Size
The difference in size can be seen with du. I wonder how du actually gets
the true (compressed) size of the file. My first thought was that the stat()
syscall might return the compressed size, but verifying that turned out to be
false.
$ dd if=/dev/zero of=file bs=10k count=10
10+0 records in
10+0 records out
102400 bytes transferred in 0.000336 secs (304607610 bytes/sec)
$ ../fsdoc/tools/stat file | grep -E 'size|flags'
size:  102400
flags: 00000000 ()
$ du -hd 0 file
100K    file
$ ls -lah file
-rw-r--r--  1 pelsen  staff   100K Jun  5 11:55 file
$ ./build/afsctool -c file
File is already HFS+/APFS compressed.
$ ../fsdoc/tools/stat file | grep -E 'size|flags'
size:  102400
flags: 00000020 (compressed)
$ du -hd 0 file
4.0K    file
$ ls -lah file
-rw-r--r--  1 pelsen  staff   100K Jun  5 11:55 file
So, both ls and the stat() syscall return the size of the file contents,
not of the compressed size on disk. That means that du must be using some
other mechanism to get the true file size. However, what we can see is that the
compressed flag is set on the file.
To figure out how du gets the actual on-disk size, I had to take a peek at
the source code
and get a little refresher on the information that stat() provides. This is
the struct that the stat() syscall returns on macOS:
struct stat { /* when _DARWIN_FEATURE_64_BIT_INODE is defined */
    dev_t           st_dev;           /* ID of device containing file */
    mode_t          st_mode;          /* Mode of file (see below) */
    nlink_t         st_nlink;         /* Number of hard links */
    ino_t           st_ino;           /* File serial number */
    uid_t           st_uid;           /* User ID of the file */
    gid_t           st_gid;           /* Group ID of the file */
    dev_t           st_rdev;          /* Device ID */
    struct timespec st_atimespec;     /* time of last access */
    struct timespec st_mtimespec;     /* time of last data modification */
    struct timespec st_ctimespec;     /* time of last status change */
    struct timespec st_birthtimespec; /* time of file creation(birth) */
    off_t           st_size;          /* file size, in bytes */
    blkcnt_t        st_blocks;        /* blocks allocated for file */
    blksize_t       st_blksize;       /* optimal blocksize for I/O */
    uint32_t        st_flags;         /* user defined flags for file */
    uint32_t        st_gen;           /* file generation number */
    int32_t         st_lspare;        /* RESERVED: DO NOT USE! */
    int64_t         st_qspare[2];     /* RESERVED: DO NOT USE! */
};
The st_blocks member returns the size of the file on disk, in units of
512 bytes (not in units of st_blksize!). You can read this field using the
stat command:
$ stat -f "%b" file
40
In this case, the file has 40 blocks of 512 bytes, meaning that it is 20KB in
size on disk. And that is exactly how du finds out the size of things. You
can see at du.c:598:
duinfo_set (&dui,
            (apparent_size
             ? MAX (0, sb->st_size)
             : (uintmax_t) ST_NBLOCKS (*sb) * ST_NBLOCKSIZE),
            (time_type == time_mtime ? get_stat_mtime (sb)
             : time_type == time_atime ? get_stat_atime (sb)
             : get_stat_ctime (sb)));
The ST_NBLOCKS macro fetches the st_blocks member from the stat struct. The
ST_NBLOCKSIZE I’m assuming is defined to be 512 somewhere.
Compressing TeX Live Installation
I love using LaTeX for all sorts of things, so I always have a TeX Live installation on any of the systems I use. One downside with that is that it does install a lot of things, which means that it ends up taking a lot of disk space:
$ du -hd 0 /usr/local/texlive
6.6G    /usr/local/texlive
But surely, I can cut that down by compressing the whole folder. Can’t I? Let’s try it. To do this, I used an option to use a worker pool, in order to make it a bit quicker.
$ sudo ./build/afsctool -c -j4 /usr/local/texlive
Adding /usr/local/texlive to queue
Starting 4 worker threads to process queue with 186099 items
 10% .. 21% .. 31% .. 41% .. 52% .. 63% .. 73% .. 84% .. 94%
Processed 186099 entries
Running this took a minute, but it ended up working out, and reduced the size of the folder by 2 GB:
% du -hd 0 /usr/local/texlive/
4.5G    /usr/local/texlive/
This is pretty good already, but I wonder if I can do better than that. The tool offers some more advanced options, such as changing the compression level or using another algorithm. To re-compress, I needed to decompress them first, and then recompress it with a higher compression ratio.
$ sudo ./build/afsctool -d /usr/local/texlive
$ sudo ./build/afsctool -c -j4 -9 /usr/local/texlive
Adding /usr/local/texlive to queue
Starting 4 worker threads to process queue with 186099 items
 11% .. 21% .. 32% .. 42% .. 53% .. 63% .. 73% .. 84% .. 94%
Processed 186099 entries
$ du -hd 0 /usr/local/texlive
4.5G    /usr/local/texlive
However, even with the better compression rate, we still “only” save 2 GB (which is 30%, so it’s very good, and I’m not complaining).
Compressing Homebrew Cellar
Homebrew installs all packages into /usr/local/Cellar, which on my system
takes up about 14GB. That includes binaries, but also header files and
documentation which should compress fairly well, I’d guess. That sounds like
another prime candidate for compression, so I gave that a shot as well.
$ du -hd 0 /usr/local/Cellar
 14G    /usr/local/Cellar
$ time sudo ./build/afsctool -c -j4 /usr/local/Cellar
Adding /usr/local/Cellar to queue
Starting 4 worker threads to process queue with 291261 items
 11% .. 21% .. 31% .. 41% .. 52% .. 62% .. 72% .. 82% .. 92%
Processed 291261 entries
sudo ./build/afsctool -c -j4 /usr/local/Cellar  430.99s user 338.29s system 158% cpu 8:06.84 total
$ du -hd0 /usr/local/Cellar
5.4G    /usr/local/Cellar
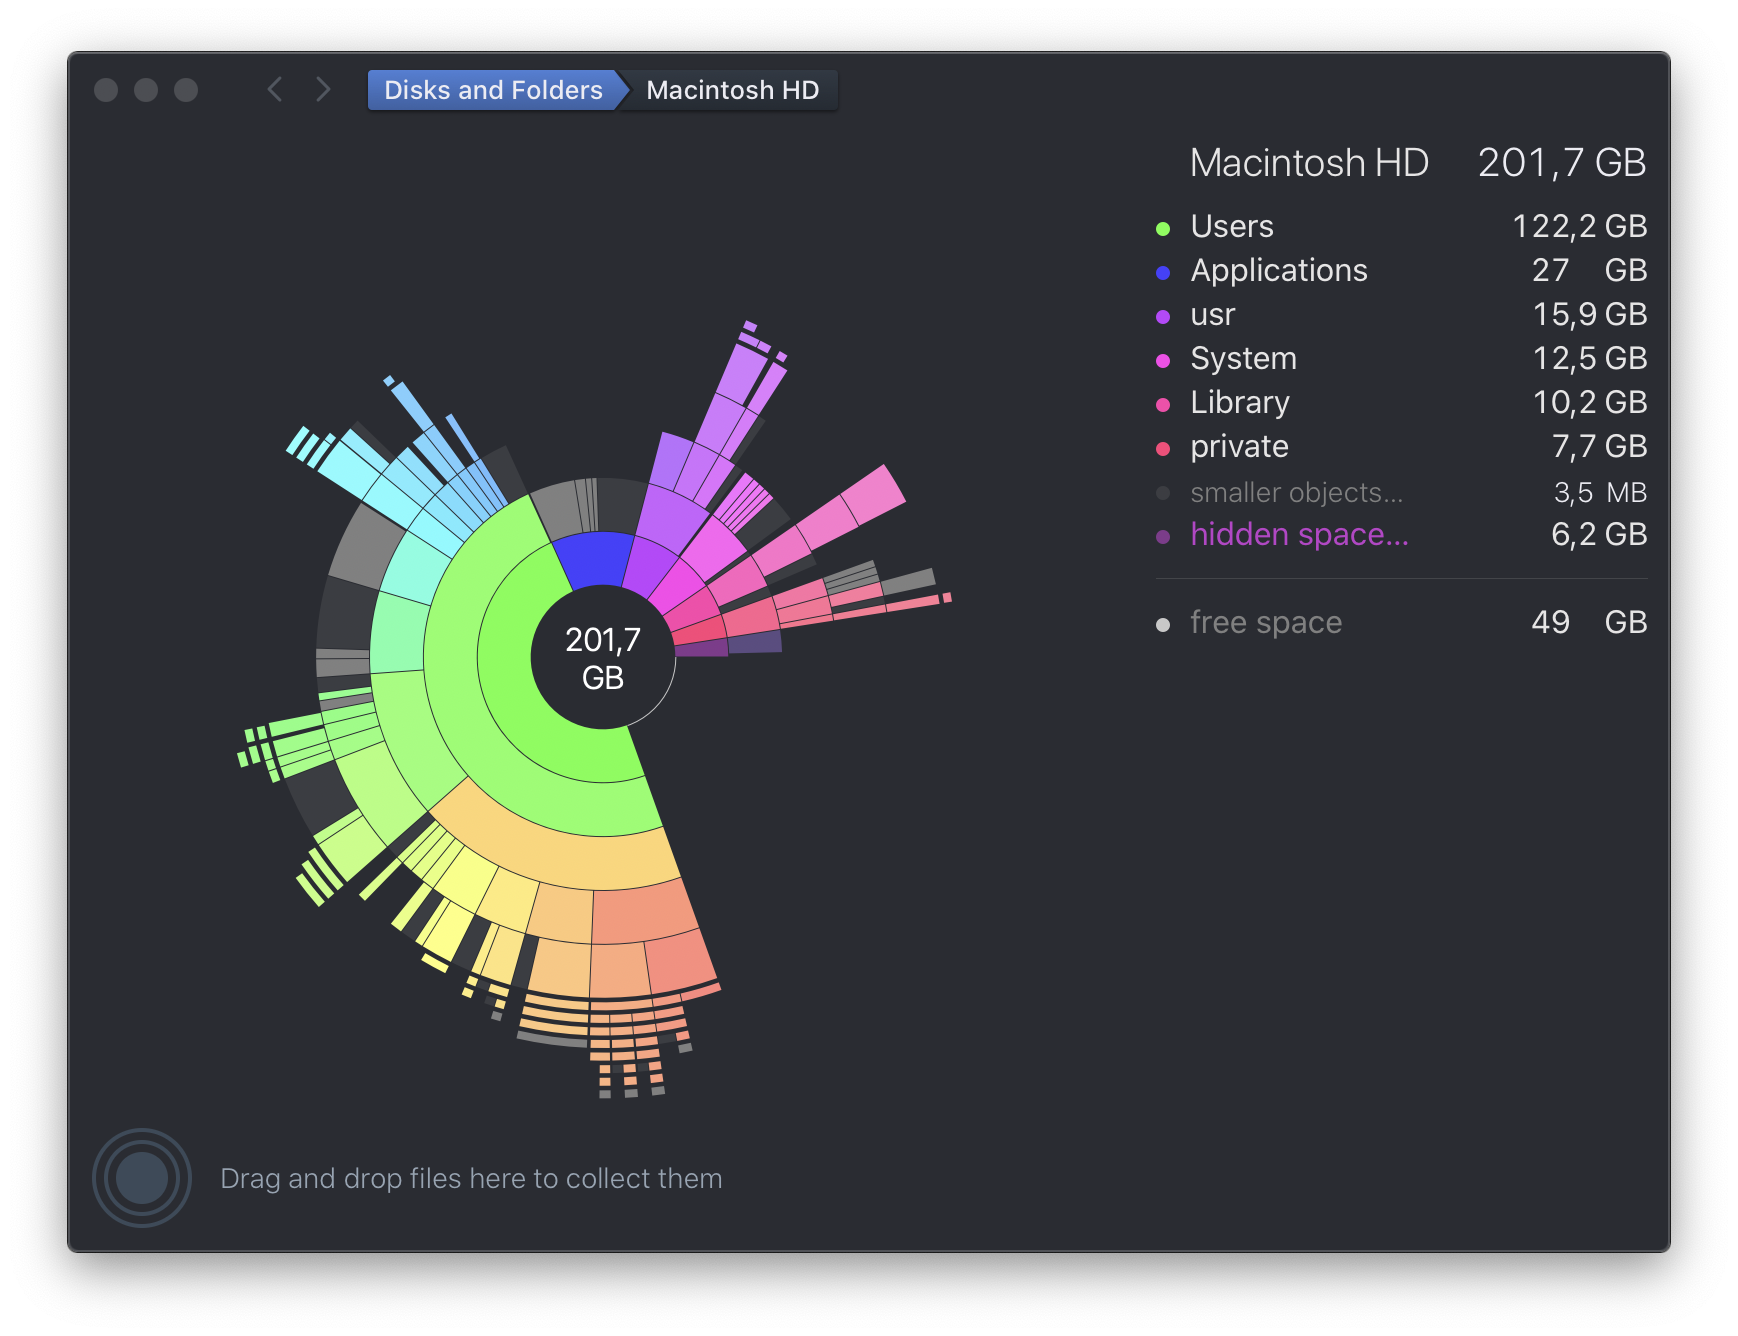
This saves me a whopping 10GB! That’s really good. With that and the TeX Live compression, I’ve saved about 11GB already.
Conclusion
APFS supports transparent file compression, just like HFS+. If you’re on a system that is low on disk space, compressing static data can be worth it and can be done easily with afsctool. I was able to save about 11GB of storage easily. I might also set up a cron job to compress my code projects folder periodically.
I don’t know why this feature isn’t more well-known. Apple uses it internally for some files, but I’m not aware of any way to compress files from the UI. I presume it just hasn’t been tested enough yet.