Tweaking ffmpeg
Today I spent some time exploring ffmpeg. Kind of unintentionally, actually. I actually just wanted to record some screencasts with QuickTime to see what it can do. I didn’t know how easy it was—just open up QuickTime, select New Screen Recording, and off you go. But there is one issue.
Modern laptops have really insane resolutions. I remember those old CRTs that had a resolution of maybe 1024x768. And those were considered fancy back them. There’s a good chance that you are older than me, so back in your time, things may have been even smaller. But modern laptops and their fancy high-pixel-density screens have a lot more pixels: on my laptop, which has a 13” screen, I have a resolution of about 2500x1800.
Now, obviously when recording the screen, all these pixels have to be stored somewhere. So it’s not surprising to see large files being output by QuickTime. After recording for about thirty minutes, I got a 4GB file. With the poor internet that I have in my apartment, it would take months to upload a file like that.
Thankfully, these days we have efficient codecs that can drastically reduce file sizes. There’s plenty to choose from, and they all have individual advantages. But the most popular format these days is x264 with aac audio in a mp4 container.
And this is where ffmpeg enters. It’s an open source tool that allows one to transcode video and audio files. Using it, I can take my file, which is already compressed, just not very much, and squeeze it into a very small file. I can also change the resolution, framerate, bitrate, audio codec, the options are almost unlimited.
But not all video is created equal. Screencasts of people typing into consoles can be compressed much more without losing too much quality than films of nature with a lot of moving parts. So the trick is to tweak the settings to get them just right: to get a video that is small, yet has a good quality. And that is exactly what I did. I mean, I tried. You’ll see.
Installing
Before I could do anything with ffmpeg, I first had to install it. For me, this was easy, since I have a package manager that does that for me. If you aren’t so lucky, you’ll probably find an installer somewhere on the net. But I used homebrew to get everything set up.
brew install ffmpeg
I read online that another project, which started out as a fork of ffmpeg, had it’s own binary with the same name and invocation1. Confusing! But form what I gathered, that’s no longer the case.
Basic Usage
To transcode anything with ffmpeg, all you need to do is call it on the console. You need to give it an input file and specify an output. It can automatically recognize the extensions and it generally does what you’d expect.
ffmpeg -i input.mov output.mp4
It can even do some fancy things such as capture the screen.
ffmpeg -f avfoundation -i 0:1 output.mkv
However, I didn’t find that to be terribly useful, as QuickTime does a better job. But it is interesting if you want to stream your screen to somewhere.
Tweaking
The interesting bit is the options that ffmpeg offers. And these are also somewhat confusing. For me, what I ended up using to convert my videos was a rather complicated invocation, and I needed to do a bunch of research to figure everything out to get there.
ffmpeg -i input.mov -c:v libx264 -r 30 -vf scale=-1:1440 -crf 25 -preset slow -profile:v high -level 4.0 -c:a aac -b:a 192k -ar 48000 -pix_fmt yuv420p -movflags +faststart output.mp4
I’m not an expert on ffmpeg in any way, and if you want to do anything fancy, you’ll have to google it just like I did. But I can explain to you what these options do and why I chose them. So let’s examine them, one by one.
-i input.mov
This specifies that we are reading from the file input.mov.
-c:v libx264
This specifies that the codec we want to use (-c) for the video stream (:v) is x264 (libx264). There are other codecs out there, some with better compression, but this one has a very broad support and good characteristics.
-r 30
QuickTime records my screen with 60fps. That’s great because it’s more smooth, but for screencasts you don’t really need all those extra frames, especially because they use up storage. So here I tell ffmpeg to reduce it down to 30fps.
-vf scape=-1:1440
QuickTime also records my screen in its full, native resolution. Nice because you get that beautiful, crisp look, but horrible when it comes to file sizes. I set this to 1440p, which is also known as 2K. You can set this to anything you like, including full HD (1080p), HD (720p), or just any size you like in pixels. The -1 here means that the other number is computed automatically.
-crf 25
This one is a little bit special. Basically, there are multiple methods to tell ffmpeg how much it should compress and what quality and file size you’d like. One way is to set a bandwidth, but this doesn’t always make sense because some parts of the video will need more (and they will be downgraded if the bandwidth is too low) whereas other parts will need less (so you will waste space with a constant bandwidth). The crf means that you want a constant quality, which you can set between no compression (0) and maximum compression (51). This is good because it means that all parts have the same quality, regardless of how complex the scenes are.
-preset slow
There are some options that control how much CPU power ffmpeg invests to compress the video. This option tells it to favour using more CPU power to get a better compression. If you have a beefier machine, you can even set it to slowest. It will take longer, but you’ll get a better quality for the same file size.
-profile:v high -level 4.0
From what I understand, these flags enable some features in the codec that might not be supported by all video players. There is a table2 that shows which devices need which settings. With these here, some of the more fancy features are enabled, but devices before the iPhone 4S might not be able to play them.
-c:a aac
This tells ffmpeg to use aac for the audio codec. You can also tell it to not touch the audio and just pass it through.
-b:a 192k
Since these screencasts don’t have any music in them, I can lower the bitrate of the audio to 192kbps. This is more than enough for voice.
-ar 48000
Here we are telling the audio codec that we want the audio to have a sample rate of 48kHz.
-pix_fmt yuv420p
This one I don’t completely understand. From what I do understand, there are multiple ways to encode pixels, one of the most well-known encodings would be RGBA, which is a 32-bit encoding. Apparently yuv420p is a sensible choice here.
Results
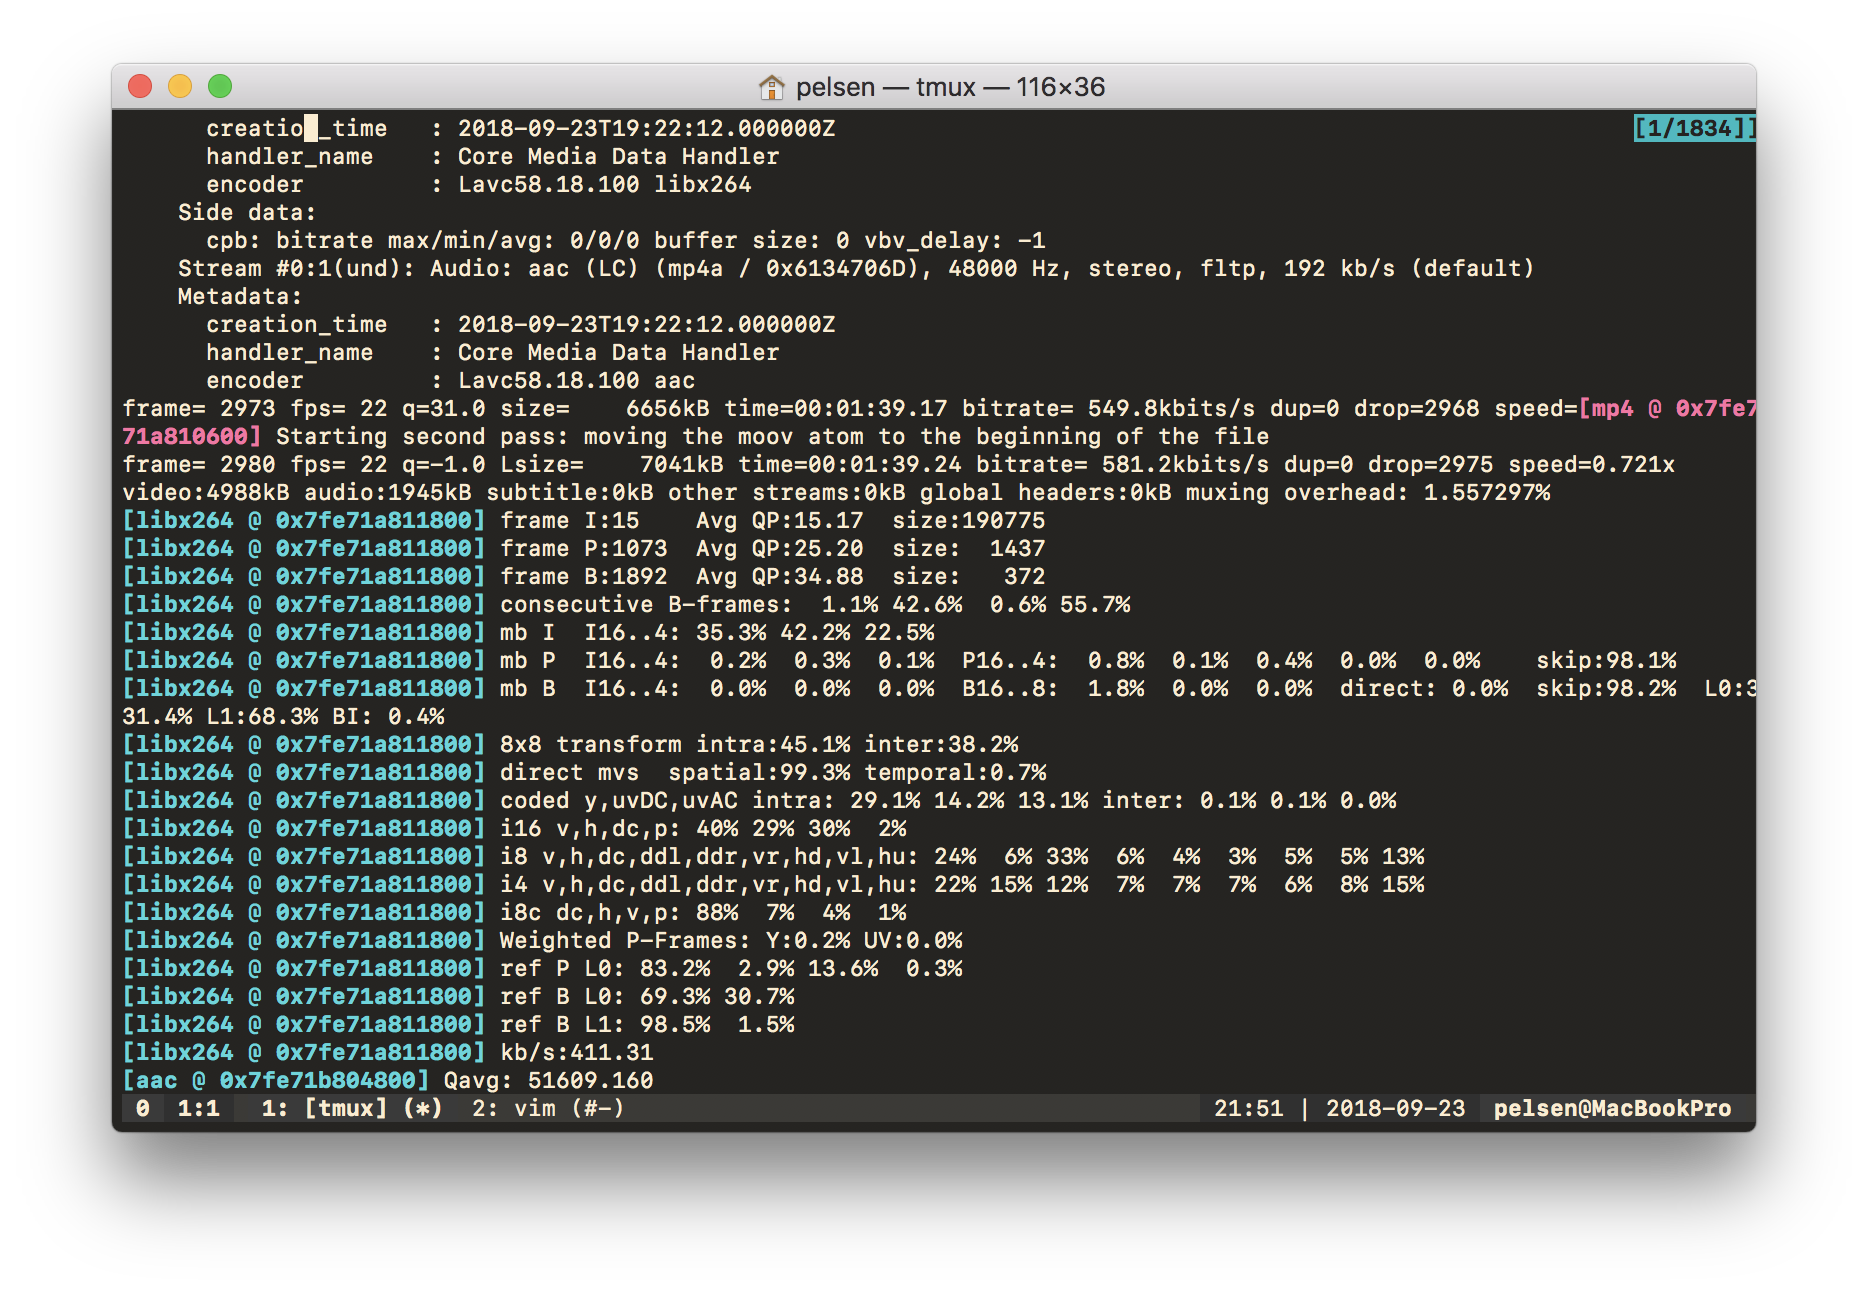
With these settings, I am able to convert a 255MB file down to just 5MB without losing any noticable quality. I think that is a really good result.
The one downside is that transcoding is quite computationally intensive. For a 30-minute video at my screen’s native resolution, my laptop needs around 40 minutes to transcode it with the invocation that I documented here. That’s alright for me since I don’t have that many things to transcode, but this is an example where it does make sense to get a beefier machine if you do this kind of stuff often.
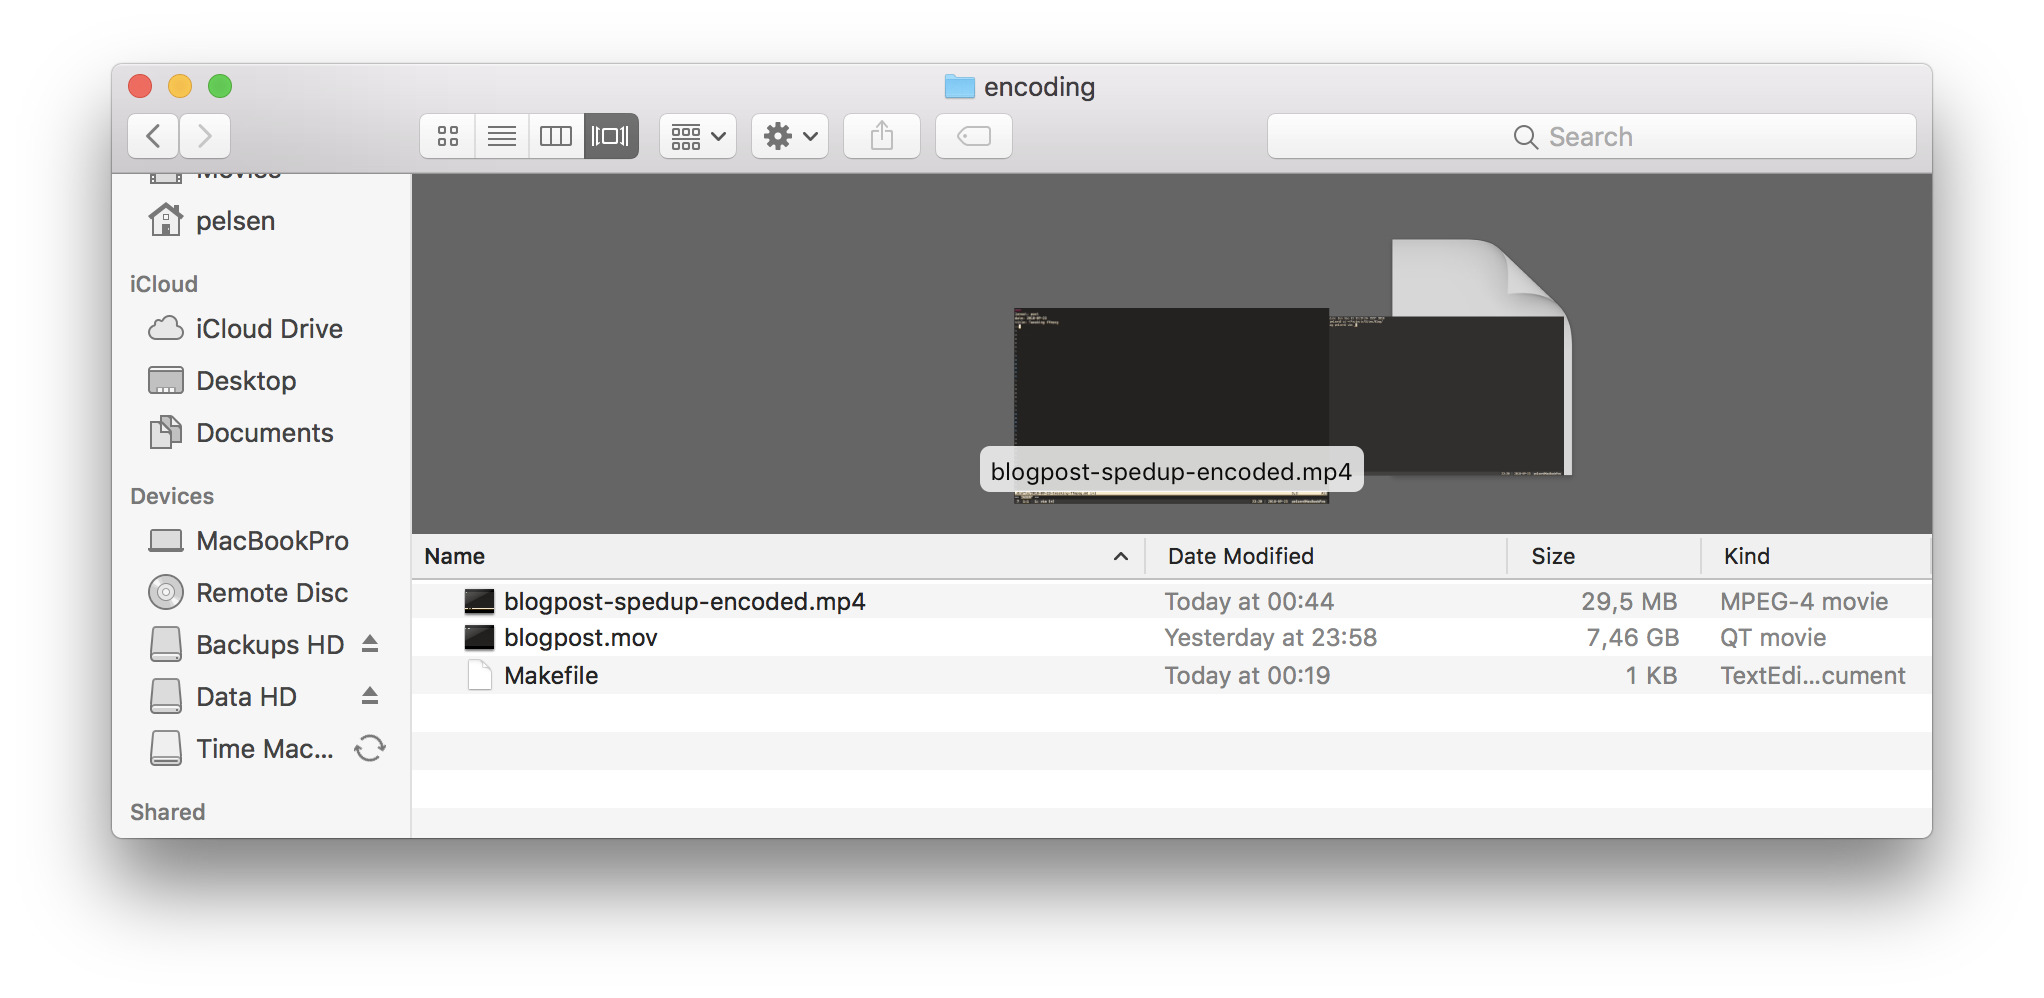
As a demonstration, I’ve recorded myself writing this blog post. It was originally a 5GB video, but I sped it up (since I type slow and it’s boring to watch) four times and downscaled it. I ended up with a ten minutes long, 30MB large 2K quality file. Success!
Conclusion
Codecs are amazing. It feels like magic when you have a secret command that you can run to get your video file down to just two percent of its size. But there is actually a lot of engineering behind that, not anything supernatural. It’s not easy to hit that sweet spot where you have a file with a good quality, yet a small file size, but it is possible. It just takes some time and experimentation.
-
See this StackOverflow question for a little bit of background. ↩
-
See Encode/H.264 on the ffmpeg wiki. ↩